If you want your photos to feel like stills from a movie, a film strip photo frame is one of the easiest ways to add retro character. You can use it for wall prints, digital collages, or film strip photo booth layouts without needing pro design skills. This guide shows what film strip photo frames are, how to make them online, and how to reuse them across photo booths and social posts.
What is a film strip photo frame?
A film strip photo frame is a layout that wraps your images in a faux film reel border. It usually includes sprocket holes, frame numbers, and subtle grain so your photos look like they were captured on 35mm. Instead of a single boxy border, you get several connected frames that can hold a short sequence of shots.
You can use a film strip photo frame as a digital overlay on your pictures, as a print template for photo booth film strip layouts, or as the base for a collage. The same frame style works for photo booths, scrapbooks, and social media posts as long as you export at a good resolution.
Pro Tip: Treat the frame as a storytelling device
Plan a mini sequence that fits inside your film strip photo frame instead of dropping in random images. Think of three or four shots that show a beginning, middle, and end for a stronger result.
Why film strip photo frames are trending again
Film inspired looks keep coming back because they add texture and nostalgia to clean digital shots. A film strip photo booth layout feels more like a moment pulled from a reel than a quick phone snap. It tells guests this photo is meant to be remembered, not scrolled past.
For weddings and parties, film strip photo frames work well with both color and black‑and‑white images. They pair nicely with retro themes, studio style portraits, or candid booth moments. You can also use them to tie together photos from different devices into one consistent aesthetic.
Pro Tip: Combine modern lighting with vintage frames
Shoot with clean, well lit digital photos, then add the film strip photo frame effect in post. This keeps faces sharp while the frame provides all the retro character.
How to make a film strip photo frame online with Photobooth Online
Photobooth Online lets you create a film strip style layout in your browser without downloads. You choose a strip template, take four photos, and export a vertical image that already looks like a photo booth film strip. You can then add extra frame textures or film effects in another editor if you want a stronger 35mm look.
You can treat Photobooth Online as a simple app to make photos look like film strip layouts. Instead of drawing frames and boxes, you focus on expressions while the layout stays consistent.
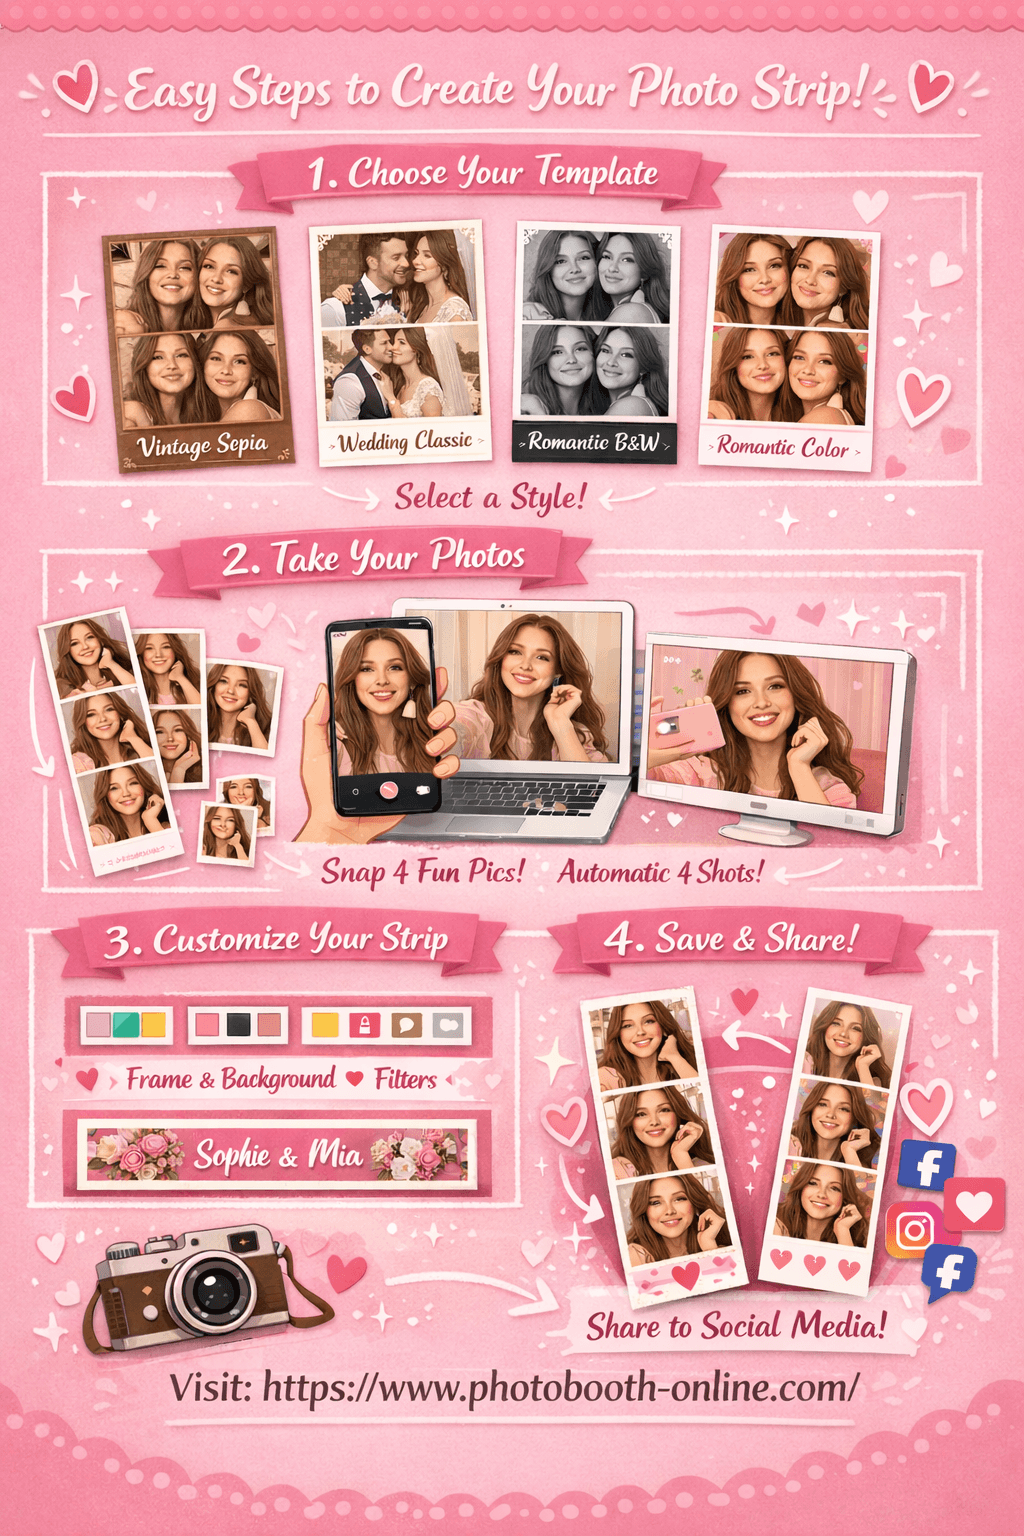
- 1Step 1: Choose Your Template
Open the site and pick a strip style that fits your vibe, like Romantic Black & White for a classic film look or Vintage Sepia for warm tones.
- 2Step 2: Take 4 Photos
Allow camera access, frame yourself or your friends, and run the automatic four shot sequence. Use small pose changes between shots to create motion.
- 3Step 3: Customize & Download
Adjust border color, background, filter, and footer text until the strip feels like a film strip photo frame. Download the image and save it to your device.
Why this workflow is useful:
- You get a ready made photo booth film strip size that fits most 2x6 print layouts.
- The export works as a base image under any film strip PNG border you add later.
- You can reuse the strip as a frame inside collages, posters, or digital zines.
Pro Tip: Save one strip with no footer text
Download a clean strip with no watermark text and keep it as a neutral base. You can reuse it as a film strip photo frame print for multiple projects by adding new words on top.
Popular film strip photo frame styles
There are many ways to style a film strip photo frame depending on your event or project. Here are some common looks that work well across photo booths, scrapbooks, and social posts.
Classic black film strip frame
A simple black border with white frame numbers and small sprocket holes. This style works with almost any photo because it imitates standard 35mm film.
White border film strip photo frame
Instead of a dark frame, you use a clean white strip with subtle grey markings. This feels lighter and fits minimalist or editorial aesthetics.
Grunge film strip overlay
Rough edges, scratches, and dust textures give your photos a lo‑fi, analog feel. Use this style for music events, street photography, or moody portraits.
Color tinted film strip frame
A colored film frame, such as deep green or warm amber, that adds a slight tint to the image edges. Great for themed events or brand specific palettes.
Negative film strip photo frame
An inverted look where tones mimic scanned negatives. Best used for experimental edits or as a background element behind normal photos.
Pro Tip: Keep faces away from heavy textures
When you apply grainy or scratched film strip overlays, make sure the heaviest texture sits in the borders, not over eyes and faces. This keeps the frame interesting without hiding expressions.
8 creative film strip photo frame ideas
Once you have a solid film strip photo frame PNG or strip export, you can use it in many different ways.
1. Wall collage of film strip photo prints
Print multiple film strip photo prints and arrange them in clusters on a wall. Mix close ups, group shots, and details to tell a broader story.
2. Wedding or party guestbook pages
Glue film strip photo frames into a guestbook with space for messages around them. Guests can sign next to their favorite strips.
3. Film strip bookmarks
Print your strips on sturdy cardstock at a tall, narrow size and laminate them. They double as bookmarks and long lasting keepsakes.
4. Social media film strip carousels
Split a wide design into multiple film strip panels and post them as a swipeable carousel on Instagram. Each panel can show a different part of the day.
5. Photo booth film strip size magnets
Turn your favorite film strip photo booth layouts into magnets that live on a fridge. Use standard 2x6 or 2.5x7 inch sizes so they fit most vendors.
6. Digital scrapbook pages
Drop film strip frames onto digital scrapbook pages and layer stickers, handwriting fonts, and textures around them for a mixed media feel.
7. Event posters with film strip borders
Use a film strip frame as the top or bottom border of an event poster. Place stills from previous events inside the frames to hint at the vibe.
8. Before‑and‑after or progress strips
Show a transformation—like a makeover, renovation, or creative project—using sequential frames. A film strip photo frame is perfect for step by step stories.
Pro Tip: Reuse one frame for multiple projects
Instead of designing new frames every time, keep one favorite film strip photo frame and swap in fresh photos for each project. Consistency makes your work feel more like a series.
Tools for adding a film strip photo frame effect
You can add a film strip photo frame effect with many tools. The best option depends on how much control you want and whether you prefer apps or desktop software.
Desktop and web tools
- Photoshop or Affinity Photo — ideal for building custom film strip overlays and masks.
- Canva or Figma — great for dropping photos into pre built film strip photo frame templates and exporting shareable graphics.
- Browser based tools like Photobooth Online — good for quickly generating vertical strips that already feel like film.
Mobile apps
- Overlay and collage apps — many apps let you stack photos inside pre made film strip frames.
- Photo editors with layer support — any app that lets you add a PNG on top of a photo can handle a transparent film strip frame.
Pro Tip: Save overlays as transparent PNGs
Always export film strip frames as PNGs with transparent windows. This keeps the frame reusable across devices and editors.
Advanced tips for building your own film strip photo frame templates
If you want full control, you can design your own film strip photo frame templates instead of relying on pre made assets.
Strategy 1: Start from real film proportions
Theory: Using realistic film proportions makes the frame feel authentic even if everything is digital.
Here is the step-by-step process:
- 1Step 1: Choose a base aspect ratio
Decide whether your frames will be closer to 3:2, 4:3, or square. Use the same ratio across every frame in the strip.
- 2Step 2: Space frames evenly with consistent gaps
Keep the distance between frames identical so the film strip looks engineered, not random.
- 3Step 3: Add subtle film details last
Once spacing and sizing feel right, add sprocket holes, frame numbers, and light grain as separate layers.
Strategy 2: Build a master PSD or Figma component
Theory: One well built master file can generate dozens of variations with minimal work.
Here is the step-by-step process:
- 1Step 1: Create a master file with empty photo slots
Use placeholder rectangles for each frame and define text styles for labels or dates.
- 2Step 2: Convert it to a reusable component or smart object
In Figma, make it a component; in Photoshop, use smart objects for each photo slot.
- 3Step 3: Duplicate and restyle for each project
For new projects, keep the structure but change colors, typography, and subtle textures only.
Strategy 3: Create print and digital versions side by side
Theory: Designing both at once avoids mismatches between what prints well and what looks good on screens.
Here is the step-by-step process:
- 1Step 1: Set up two artboards or canvases
Use one artboard for print sizes like 2x6 or 4x6, and another for digital ratios like 9:16 or 4:5.
- 2Step 2: Share styles between the two versions
Keep colors, fonts, and frame details consistent so the print and digital frames feel like the same family.
- 3Step 3: Test exports in both contexts
Print a sample strip and also check the digital version on a phone screen to confirm clarity.
What real creatives say about film strip photo layouts
Photographers and booth operators often mention that film strip photo layouts help them sell more prints and digital packages. The format feels special enough to justify a premium, especially when used for weddings and editorial style shoots. Many creatives build their own film strip frame library so they can apply a consistent look across projects without starting from scratch every time.
Community discussions also highlight practical constraints, such as keeping text readable at 2x6 sizes and making sure faces stay inside safe areas. People who rely on film strip photo frame prints for events recommend running at least one full test print with live photos instead of stock images, because real skin tones and lighting can reveal issues that mockups hide.
Common mistakes when using a film strip photo frame
Even a strong film strip frame can fall flat if you use it without care. Here are some traps to avoid.
-
Overlapping important details with heavy textures
If scratches or dust overlays cover eyes or smiles, the effect becomes distracting. Keep the roughest texture in the borders only. -
Using low resolution base photos
Upscaling tiny images into a tall strip makes grain and artifacts worse. Start from high resolution photos whenever possible. -
Ignoring print sizes and aspect ratios
Designing purely for screen and then printing can crop off sprocket holes or text. Plan for your target sizes early. -
Adding too many fonts or logos
A film strip photo frame already has visual weight. Keep typography simple so the frame does not feel cluttered. -
Mixing unrelated editing styles inside one strip
Combining heavily filtered shots with flat ones makes the strip feel inconsistent. Apply similar color grading across all frames. -
Forgetting to back up master overlays
Losing your favorite film strip PNGs means rebuilding from scratch. Keep them in a labeled, backed up asset folder. -
Using the exact same frame everywhere without context
If every project uses the same film strip, your work can start to look repetitive. Rotate between a few core frames when it makes sense.
Pro Tip: Print and pin one frame above your desk
Keep a real world print of your favorite film strip photo frame nearby. Use it as a reference when you design new variations so your digital work still feels grounded in physical media.
FAQ
What is a film strip photo frame?
It is a border or layout that makes your images look like they were printed on a strip of film, often with sprocket holes and frame markings.
How do I add a film strip photo frame effect to my pictures?
Use a photo editor or app that supports layers, place a transparent film strip PNG over your images, and position each photo in the frame windows.
Can I use film strip photo frames for photo booth layouts?
Yes. You can design 2x6 or 4x6 photo booth film strip layouts using film strip frames as the main border, then place live capture photos behind them.
What size should I use for film strip photo booth prints?
Most booths use 2x6 inch strips or 4x6 inch prints that include one or more strips. Check your printer or software for exact templates.
Is there an app to make photos look like film strip layouts?
Browser tools like Photobooth Online and many mobile collage apps can turn a sequence of photos into a vertical strip that behaves like a film strip frame.
Can I print film strip photo frames at home?
Yes. Use high resolution exports and print on good quality photo paper or cardstock, then trim to your desired strip size.
Ready to create your own film strip style strips? Try Photobooth Online free → — no download, no signup needed.